At my school, St Andrew’s College, we’ve got one of the best Music Technology programmes in New Zealand. We have a world class studio. Students are making albums in which they compose, perform and record all their own material. But the thing is… I’ve just had the insight that I’ve never really had a strategy for growing music technology skills in my students from years 9-13… it’s all just kind of happened.
This week I’m running workshops for teachers in how to create a music technology programme and it’s through the course of the first day that it’s dawned on me. I’ve got a pretty good course running, but it could be so much better if I am more intentional about what I want to see produce by students at each year level.
Currently this is what I’m running at each year level:
Year 9
All students in our school do ‘core’ music for two periods a week. In the past they’ve made loop based compositions with Mixcraft and Soundation but this year I’ve moved on to using the excellent Soundtrap.com.
With loop based composition it has just been about exposing students to the basics of how a Digital Audio Workstation (DAW) works and to focus on their compositional skills of developing structure and texture.
Recently (as in… last week) I got these students (who are not ‘music’ students, most of them don’t play instruments) to plug in MIDI keyboards to their computers and to run Soundtrap.com while doing classroom performance. Here is the result of what they came up with:
The next step is to get them composing using loops and making melodies with keyboards utilising the pentatonic scale. Or, I could get them to make drum beats using loops or the built in sampler on Soundtrap, compose their melodies on glockenspiels or Xylophones (or other instruments if they play them) and to then record in their compositions to Soundtrap using their laptop microphone.
I’m rather excited now, I can’t wait to get into next term and try it!
Year 10
In year 10 students can choose to take ‘Option’ Music. In this course students are involved with writing songs and recording them using MIDI keyboards and microphones with Garageband. This course last year was the most successful course I’ve run and as a result this year we now have our largest year 11 class St Andrew’s College has ever had.
I wrote a blog about this in depth last year. But here is a clip of students creating in the studio.
Year 11
In the year 11 course I have given students the option to do composition in a DAW, not just by using Sibelius as I have traditionally done. This is hugely exciting as I’m seeing an amazing level of creativity. The NZ Music Commission has been hugely helpful with their composers in residence scheme and the tutor they’ve provided us has been excellent.
Here is an example of what a student has composed. This is from a student who plays Oboe to around grade 5 level so it was a huge surprise to me to find out she had this in her!
At year 11 students also learn the basics of putting together PA and recording systems, what microphones are good for which situations and how to run sound for a lunchtime concert. The focus has traditionally been on just what the equipment does and how to connect it.
Students complete Unit Standards 27656 and 26687. Generally they’re using Studio One Prime, Pro Tools First or Garageband.
Year 12
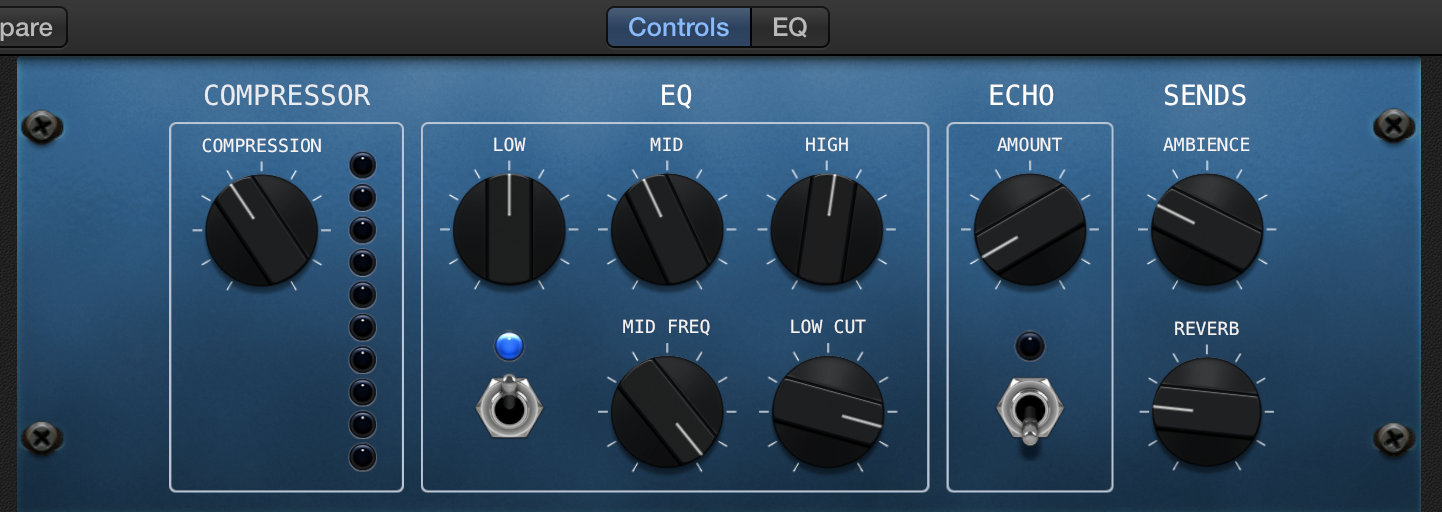
In year 12 students complete Unit Standards 27658 and 27703 so they get a good grip on how to mix and how to use Parametic EQ, Compression, Delays & Reverb. They take tracks recorded by other people from websites like shakingthrough.com and mix them.
Because of the requirements of the Unit Standards they can’t use beginner software like Garageband or Soundtrap so they move up to Pro Tools (or Pro Tools First), Logic or Reaper.
Year 13
This is when it all comes together and students engage in Project Based Learning, often to make an album of material they have composed and performed. An excellent example is from one of my students last year who made a whole album.
In terms of assessment students complete Unit Standards 23730 and 28007.
Reflection
When I look at what my students are producing I’ve got a huge sense of pride. But, I get the sense that if I provided them with more clarity around expectations of what they’ll be producing each year, they’ll be producing albums in year 13 that will truely be mind blowing.
So, what would an overall high school music course music technology plan look like? I’ll let you know when I write the next blog 🙂